Carrier Compliance
Generate manifests required by carriers to process and bill shipments. Meet official documentation requirements.
Carrier Manifest is a tool that allows you to generate and manage carrier manifests to close shipping periods. Manifests are official documents that consolidate information from all shipments made with a specific carrier during a given period.
This functionality is essential for meeting carrier requirements that need manifests to process and bill shipments correctly. It allows you to generate manifests for one or multiple carriers, download generated files, and maintain a complete history of all created manifests.
Generate manifests required by carriers to process and bill shipments. Meet official documentation requirements.
Generate manifests for one or multiple carriers at once. Select individual carriers or process several simultaneously.
Maintain a complete record of all generated manifests. View status, files, messages, and timestamps of each manifest.
Download generated manifest files directly from the interface. Files are automatically saved and available for download.
Monitor the status of each manifest. See if it’s processing, completed, or if there was an error during generation.
Automatically integrates with carrier systems (such as Xenvio) to generate manifests without additional manual intervention.
Navigate to Carrier Manifest
Access Carrier Manifest from the Shipped menu and then click in the Carrier Manifest link.
Verify your permissions
Make sure you have the necessary permissions to generate manifests. If you don’t have permissions, you’ll be redirected to login.
Click Create
At the top of the page, click the Create button.
Create Manifest modal opens
A modal will appear with a list of all active carriers available in your system.
Select a carrier
In the carriers table, click directly on the name of the carrier you want to process. This will automatically select that carrier.
Click Proccess Manifest
Click the Proccess Manifest button to start generating the manifest for the selected carrier.
Wait for processing
You’ll see a “Processing…” message while the system generates the manifest. This may take a few seconds.
Review results
Once completed, you’ll see a success message and a table with results will be displayed. If the manifest was generated correctly, you’ll see a link to download the file.
Click Create
At the top of the page, click the Create button.
Create Manifest modal opens
A modal will appear with a list of all active carriers available.
Select multiple carriers
Check the boxes next to each carrier you want to process. You can select as many carriers as needed.
Or use Select All
If you want to select all carriers in the list, check the Select All checkbox in the table header.
Click Proccess Manifest
Click the Proccess Manifest button to start generating manifests for all selected carriers.
Wait for processing
The system will process each selected carrier. You’ll see a “Processing…” message during the process.
Review results
Once completed, you’ll see a table with results for each carrier. Successful manifests will show links to download files, while those with errors will show error messages.
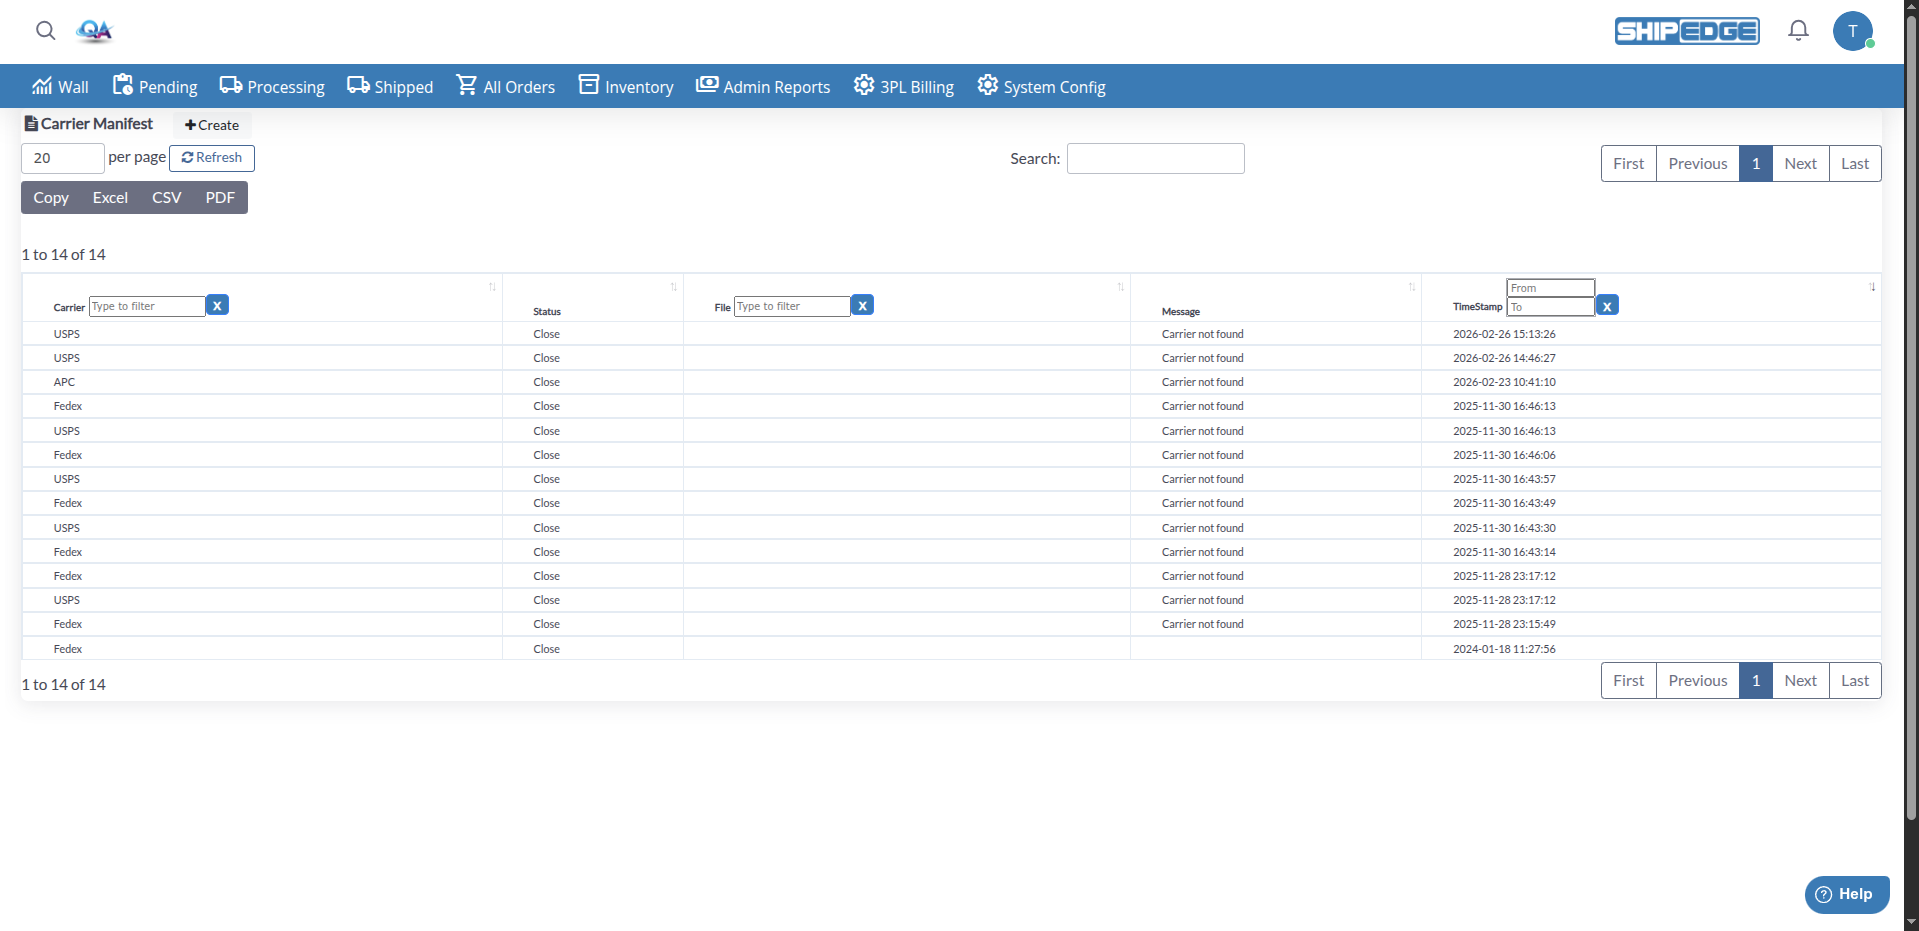
The main page displays a table with the complete history of all generated manifests. The table includes the following columns:
Use the search field
At the top of the table, you’ll find a general search field.
Filter by Carrier
Use the text filter in the Carrier column to search for manifests from a specific carrier.
Filter by File
Use the text filter in the File column to search by filename.
Filter by date
Use the date range filter in the TimeStamp column to search for manifests within a specific date range.
Click Refresh
Click the Refresh button to update the table and see the most recent manifests.
Locate the manifest
Find the manifest you want to download in the table using available filters.
Click on the filename
In the File column, click on the manifest filename you want to download.
File downloads
The file will open in a new tab or download automatically, depending on your browser settings.
Generate manifests regularly according to your carrier requirements. Some carriers require daily or weekly manifests.
Review history before generating new manifests. Verify there are no pending or in-process manifests for the same carrier.
Download manifest files and archive them according to your document retention policies. Manifests are important official documents.
Review messages in the Message column to identify any problems during manifest generation. Errors may indicate integration or configuration issues.
If you need to generate manifests for multiple carriers, use the multiple selection function to process them all at once and save time.
Use date and carrier filters to quickly find specific manifests in history. This is useful when you need to review previous manifests.
Problem: I click Proccess Manifest but nothing happens or an error appears.
Solutions:
Problem: The manifest was processed but I don’t see any files available for download.
Solutions:
Problem: I see an error message in the Message column after generating a manifest.
Solutions:
Problem: Carrier checkboxes don’t check or I can’t select carriers.
Solutions:
Problem: The table doesn’t show all manifests it should show.
Solutions:
Next Steps: